
This week's tutorial: how to make a super tiny picture frame! This technique is pretty simple, and you end up with a really neat-looking, dimensional frame.
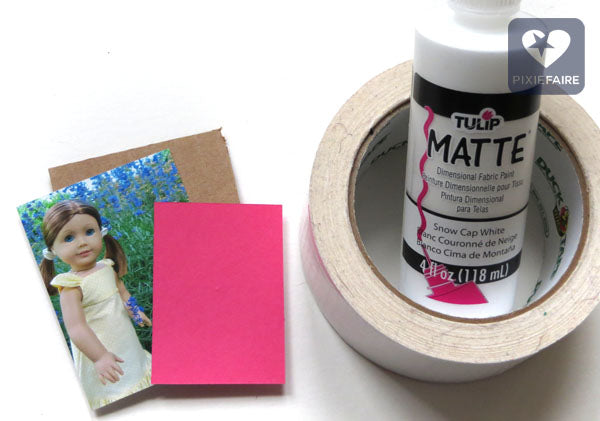
You'll need your picture (of course!), some cardboard and cardstock, cloth tape (like duct tape) and some puff paint or Elmer's glue.

Start by cutting a piece of cardboard just a little bigger than your picture.

Then, use a pencil to draw on the inside line of your frame. Cut out the middle. An X-Acto knife and a ruler work wonderfully --- but be sure to get help if you need it!

Cut pieces of tape, and start covering the frame. I did both long edges first, then cut shorter pieces with angled edges to do the top and bottom. This way the frame looks like it has mitered corners.
Make sure all the tape is stuck down well.

Using your puff paint or Elmer's glue, draw on a design. Once it's dry, hit the frame with a coat or two of paint in your favorite color. :)

Glue the picture into the frame.

Cut a rectangle out of cardstock, then trim it into a triangle shape, like in the picture above. Fold up one long edge, and glue it to the back of the picture.

And voila -- your frame is complete!
Have fun, be safe, and let us know in the comments if you make this...
For Pixie Faire,
Melinda

3 Comments
Leave a comment


Ava
September 01, 2017
I am going to try this as soon as I get some puff paint!