Have you ever tried to hem multiple edges of the same piece of fabric, and wound up with really nasty looking corners? Well, today, I wanted to show you how to miter your corners. It actually doesn't take that much longer, and the results are beautiful!
Start by marking off your hem allowance on each corner.

Then, mark a third line 1/4" away from the point, at a 45 degree angle to the corner lines.

Cut along this third, marked line; then press the raw edge under 1/4".
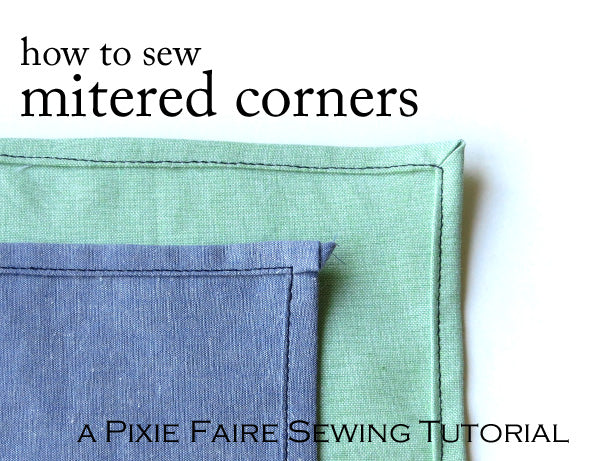
Now, fold under your raw edges just like normal...and watch what happens at the corners! If you are careful, you should wind up with something like this:

Congratulations! You just mitered a corner! Yes, that's really all there is to it.

Thanks for following along today! If you have questions or comments, please feel free to jump in below -- we'd love to hear from you :)
For Pixie Faire,
Melinda
25 Comments
Leave a comment


شركة نقل عفش بمكة
May 19, 2026
https://fullservicelavoro.jimdosite.com/
http://treeads.nation2.com/
https://jumperads.yolasite.com/
http://jumperads.nation2.com/
http://transferefurniture.hatenablog.com
https://atar-almadinah.weebly.com/
https://allmoversinriyadh.wordpress.com/
https://allmoversinriyadh.wordpress.com/2022/04/09/%d8%b4%d8%b1%d9%83%d8%a9-%d8%aa%d9%86%d8%b8%d9%8a%d9%81-%d8%a8%d8%a7%d9%84%d8%b1%d9%8a%d8%a7%d8%b6-%d9%85%d8%ac%d8%b1%d8%a8%d8%a9/
https://allmoversinriyadh.wordpress.com/2022/04/07/%d8%a7%d9%81%d8%b6%d9%84-%d8%b4%d8%b1%d9%83%d8%a9-%d8%aa%d9%86%d8%b8%d9%8a%d9%81-%d8%a8%d8%a7%d9%84%d8%b1%d9%8a%d8%a7%d8%b6/
https://allmoversinriyadh.wordpress.com/2022/05/13/%d8%b4%d8%b1%d9%83%d8%a9-%d9%86%d9%82%d9%84-%d8%b9%d9%81%d8%b4-%d9%88%d8%ba%d8%b1%d9%81-%d8%a7%d9%84%d9%86%d9%88%d9%85-%d8%a8%d8%a7%d9%84%d8%b1%d9%8a%d8%a7%d8%b6/
https://companymoversinjeddah.wordpress.com/
https://moversfurniture2018.wordpress.com/2018/12/30/%D8%A7%D9%87%D9%85-%D9%85%D9%83%D8%A7%D8%AA%D8%A8-%D9%88%D9%85%D8%A4%D8%B3%D8%B3%D8%A7%D8%AA-%D8%B4%D8%B1%D9%83%D8%A7%D8%AA-%D9%86%D9%82%D9%84-%D8%B9%D9%81%D8%B4-%D8%A8%D8%AC%D8%A7%D8%B2%D8%A7%D9%86/
https://moversriyadhcom.wordpress.com/
https://moversmedina.wordpress.com/
https://moversfurniture2018.wordpress.com/
https://moversmecca.wordpress.com/
https://khairyayman74.wordpress.com/
https://companymoversmecca.home.blog/
https://companymoverstaif.home.blog/
https://companymoverskhamismushit.home.blog/
https://whitear.home.blog/
https://companyhouseservice.wordpress.com/
http://bestmoversfurniture.wordpress.com/
https://companymoversjeddah.wordpress.com/
https://companycleaning307819260.wordpress.com/
https://companymoversriydah.wordpress.com/
https://ataralmadinah662300791.wordpress.com/
https://groups.google.com/g/moversfurniture/c/wwQFSNvgyAI
https://groups.google.com/g/moversfurniture/c/4L1oHETS4mQ
https://nowewyrazy.uw.edu.pl/profil/khairyayman
https://companyhouseservice.wordpress.com/2022/08/06/%d8%a7%d9%81%d8%b6%d9%84-%d8%b4%d8%b1%d9%83%d8%a9-%d8%aa%d9%86%d8%b8%d9%8a%d9%81-%d8%a8%d8%a7%d9%84%d8%b1%d9%8a%d8%a7%d8%b6/