

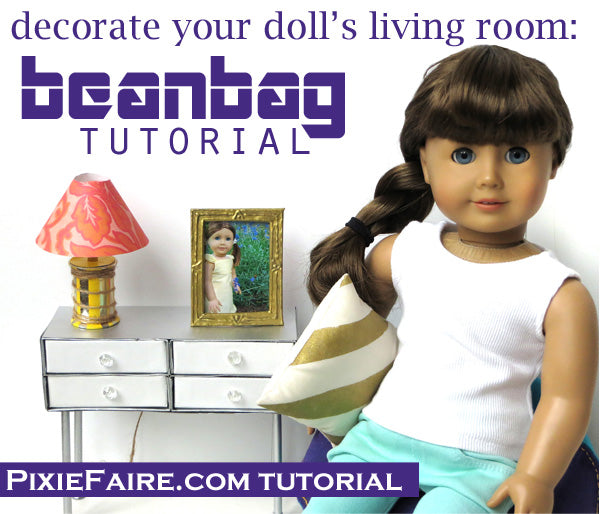
Hello, and welcome to 2014 everyone!
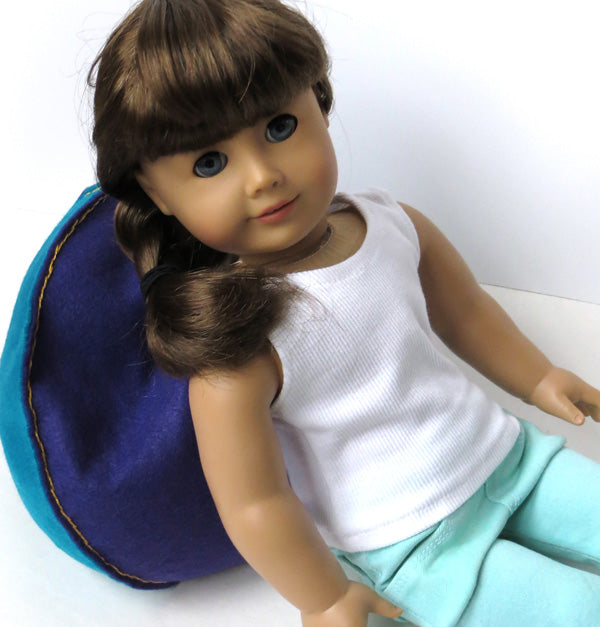
For the month of January, we're going to do a few crafts to help you round out the things in your doll's "living room" -- and what better way to kick it off than with a comfy and easy felt beanbag? It's a great project to practice the backstitch -- a simple, sturdy embroidery stitch that's sometimes also used in high-end sewing.
Start by cutting four ellipses (an oval with pointed ends) out of felt. Mine are about 6 1/2" wide and 12" long. You'll also need a needle and some thick, decorative thread (I'm using heavy perle cotton, which you can find in hanks in the embroidery aisle of almost any craft store.) A beanbag this size will take 3 - 4 lbs of beans to fill.

Lay two of your pieces on top of each other, knot a length of thread, and start stitching them together. Start at one point, and work your way around to the other point. Try to keep your stitches even, and about 1/4"-1/8" from the edge. Oh yes, and small enough that your beans won't escape!

Bring your needle to the right side of the work, then take a stitch backwards and bring the needle up again a little ways from where the thread came out, and pull through. This is a pretty basic, easy-to-do stitch, but if you need a little extra help figuring it out, I demo it in the video below. :D
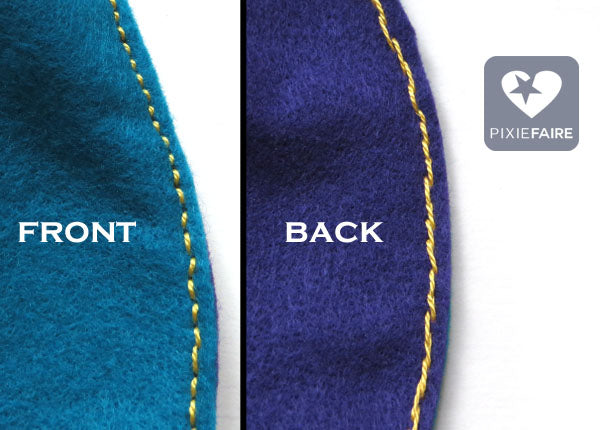
This is what your stitching should look like, when you're done; nice little lines on the front, with bits of overlapping thread on the back.

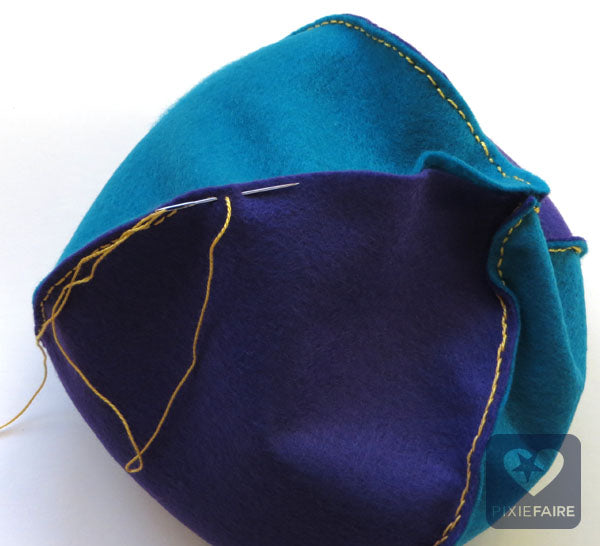
Keep adding sections!

To close the beanbag, sew the last two sections together -- but leave a couple inches open at the end. Fill the bag with beans, then finish sewing to close the beanbag permanently.
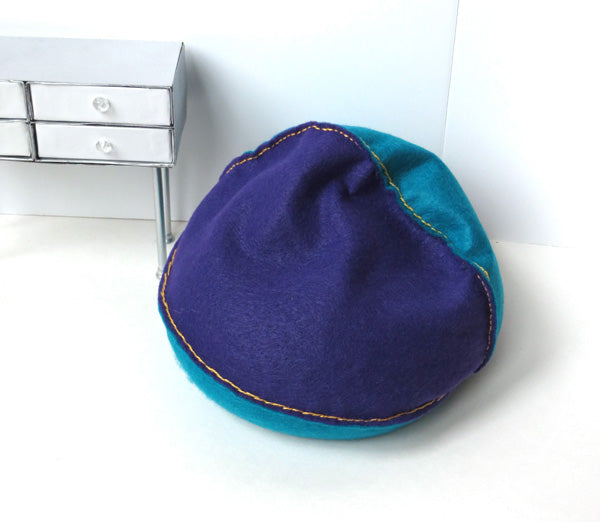
Tie off your thread, and there you have it -- your very own doll-sized beanbag!

Have fun, and be sure to let us know in the comments if you make this!
For PixieFaire,
Melinda


8 Comments
Thanks for sharing the bean bag directions
We made ours out of fabric and filled them with rice. Great!
Cute !!