

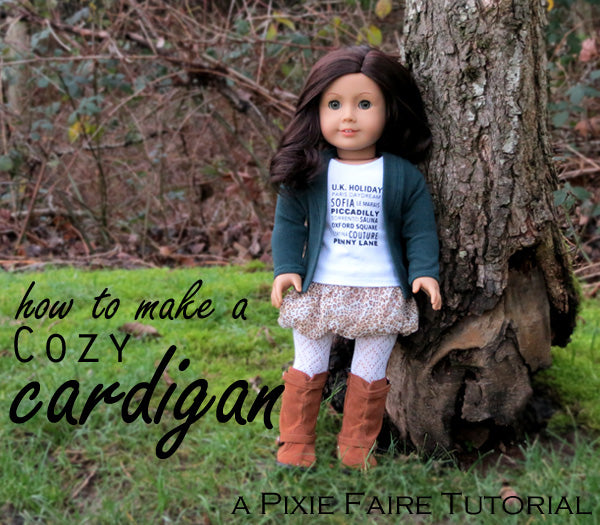
Want to make this fun little cardigan?
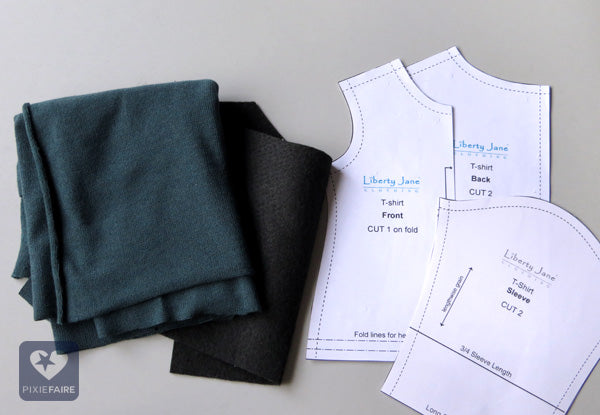
All you need is some knit fabric, the Liberty Jane Tee shirt pattern, and some felt. I'm using a 'sweater' type knit, and the long sleeved version of the T shirt variations pack -- but if all you have is the free Trendy Tee pattern, you can just lengthen the sleeve it comes with. :)
Below is a step by step video, follow along or skip to the images and text below:

Cut out your pattern, and then cut out a strip of fabric 2" wide x 20" long.

Design Note: If you love the look of our Summer Pj's look with the longer cardigan style robe, then you'll want to add 2-3 inches to the length of both the Front and Back pieces and then the same amount to the rectangular strip mentioned above.
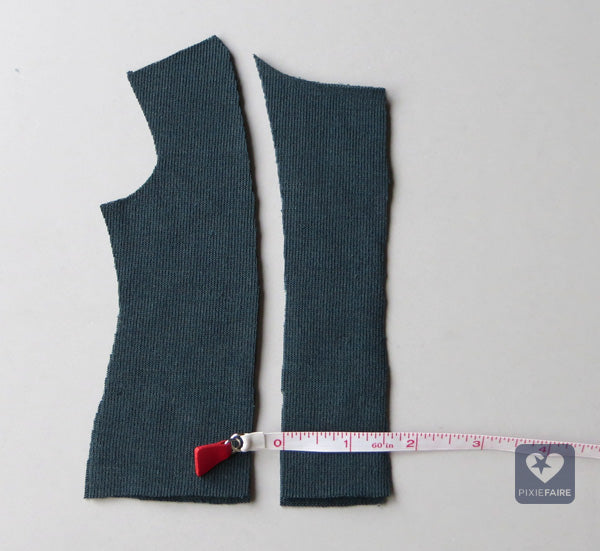
Trim down the back pieces! Measure in about 1 1/2" from the long straight edge, and trim straight up, curving gently to meet the shoulder seam. These pieces will now become the front of the cardigan, and the original front piece will be the back.

Cut two little rectangles of felt, about 1" x 1 1/2", and round off the corners. Use your doll's arm as a guide to figure out where to put the elbow patches. Be sure to make a left and a right sleeve!

Sew the fronts and backs together at the shoulder seams.

Hem the lower edge of the sleeves, and then sew them into the body of the cardigan. (Make sure the elbow patches face the back.) Trim and finish the seam.

Sew up the side seams and down the underarms. Then, hem the bottom of the cardigan.
Finish one end of the binding by folding it in half, right sides together, and sewing across one short end. Trim off the corner, flip it right side out, and press the whole binding in half lengthwise.
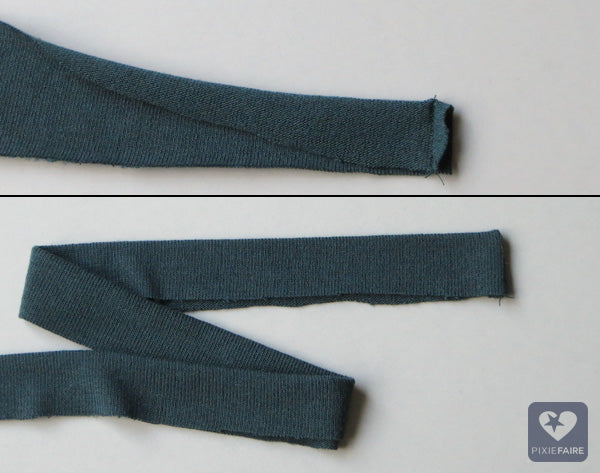
Start pinning the binding to the edge of the cardigan. Stretch the binding slightly when you get to the back of the neck, but don't stretch it down either front edge.

When you get down to the other side, clip off the extra binding, flip it inside out, and sew across the short edge like you did for the other side.
Zig zag over the raw edges, and topstitch the seam allowances down on the cardigan side.

And that's it! You're ready to go style it into your doll's wardrobe!

Have fun with this tutorial!
For Pixie Faire,
Melinda


518 Comments
When I get chilly, I either find my favorite Eeyore (varsity style) hoodie, or change into a long-sleeve t-shirt and pull on a vest.
My favorite go-to layer when I’m chilly is my pullover sweat shirt and when I’m home, my pullover sweat shirt and a fluffy warm blanket to cuddle up in. It is pretty chilly in our home most of the winter so sweat shirts and thick slipper socks come in very handy. :)
My FAV go-to layer is a 100% cotton hoodie from Costco (Kirkland brand) that they’ve sold the last 2 years — very well made and sooo comfortable here in the cool/now warm/chilly again/warm again SW desert!!! I have a medium gray and an oatmeal one that carry me through the ‘chilly’ season! Would LOVE to have yours, Melinda, but thrilled to be able to make it too!!! ;)
I have a chocolate brown cashmere poncho that I LIVE IN when it’s chilly:)
My fav layer is a grey hoodie that stays in my sewing studio. I sometimes forget to go out to the shop and turn the Hester on to get it warm before I start to work.