

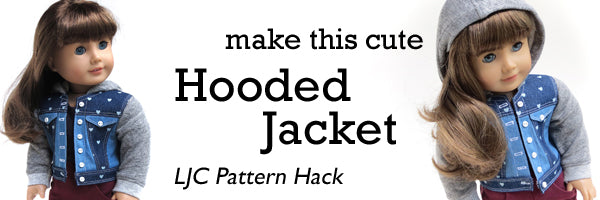
Looking for a fresh new way to use your favorite LJC patterns -- and maybe make an on-trend, back-to-school piece too? Well, that's just what we have for you this week.
Giveaway update! We have a winner! It's Judy who said, "My favorite back-to-school supply is binder clips. I teach, and have to manage lots of papers. I’m so glad they make them in colors now." Judy, we'll be in touch via email soon.
We're going to be combining two LJC classics -- the Denim Jacket, and the Ruched Hoodie -- to make this fun, stylin' jacket.
First, you're going to need some fabric: some sweatshirt-type material (we're using a double sided knit), ribbing, and of course, some denim. A little bit of narrow ribbon in a splashy color is a fun extra...

Then, cut out all the pieces for the denim jacket EXCEPT the collar and the sleeves/cuffs.

Use the sweatshirt material to cut out the sleeves from the Denim Jacket pattern, and the hood from the Ruched Hoodie pattern.

Grab the Denim Jacket Sleeve Cuff piece, and draw a line 1/2" in from the dots. Fold along this line, and use this new (shorter!) pattern piece to cut two cuff pieces out of ribbing.

Sew the body of the jacket together, following the directions in the guidebook. Stop when you reach the steps for the collar.
Switch to the Ruched Hoodie guidebook! Sew the hood together following those directions: stitch and finish the rounded, CB edge, then carefully hem the face edge.
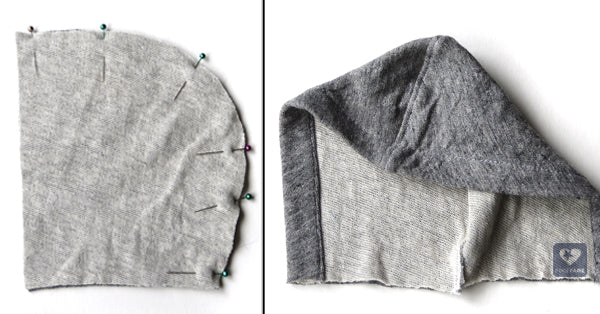
Pin your new hood to the jacket's neckline, lining up the hemmed edges with the notches for the collar. Be sure to match Center Back too!
The hood will be a little longer than the jacket's neck edge, so just ease the extra fabric in gently with your fingers. If your fabric doesn't want to ease, you can always run a couple of gathering threads to help get everything in place.

Fold back the front edges so that they just cover the end of the hood. Stitch.
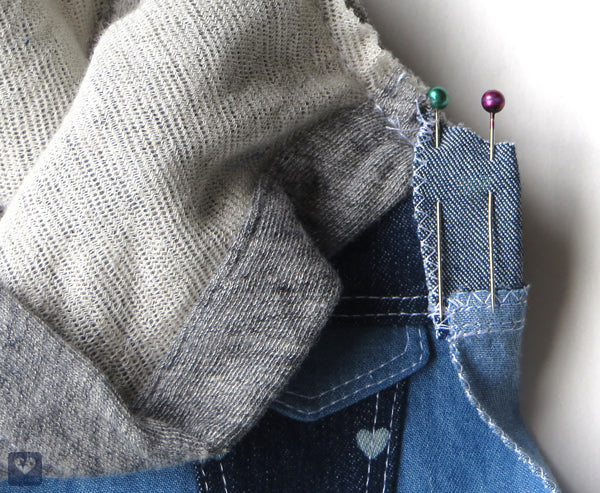
Trim corners, and clip into the seam allowance a bit so that it lies flat.
At this point you have two options: zig-zag/serge the seam allowances, or...cover them with some cute ribbon!
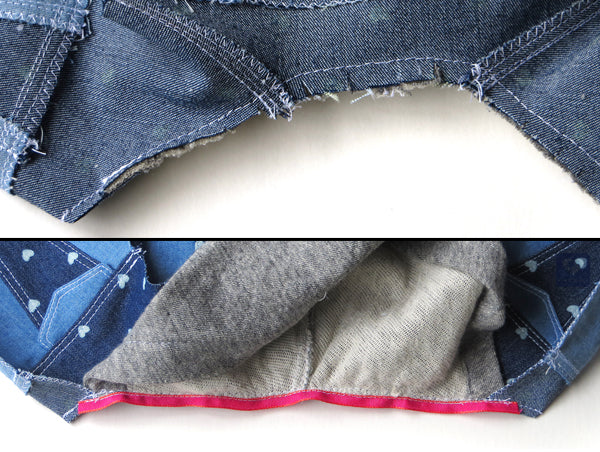
I sewed a piece of ribbon directly over the seam allowance, lining up one edge of the ribbon with my previous stitchline. If you do this, make sure your ribbon begins and ends in the facing.
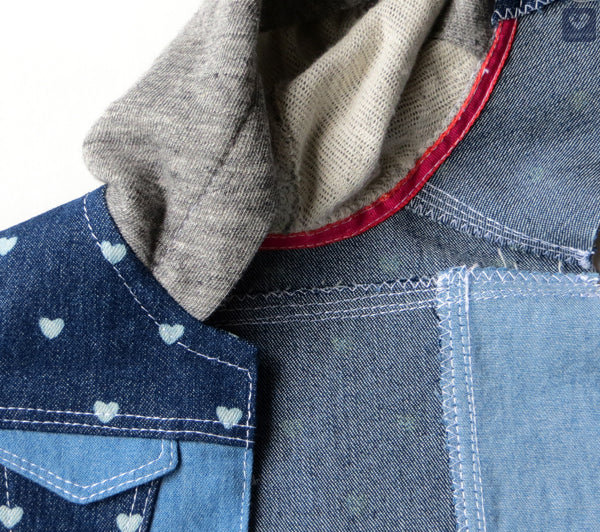
Topstitch the bottom edge of the ribbon down to the jacket, sandwiching the seam allowances. When you reach the front edge, pivot, and edgestitch down the front on both sides.

I added a second line of topstitching just below the seamline, for good looks and extra stability.
Sleeve time!

Fold the cuff piece in half, and stretch it to fit the lower edge of the sleeve. Pin and stitch. (If you need extra help with this step, just follow the cuff directions in the Ruched Hoodie guidebook. The pieces are shaped a little differently, but the idea is the same.)
Set the sleeves in the jacket, and topstitch.

Finish off your jacket by sewing the underarm and side seams, adding the waistband, and doing the buttons and buttonholes.
Congratulations!

Giveaway Time!
Would you like to win this adorable little jacket? Super! We'd love to send it to one lucky winner...
To enter, just leave a comment below finishing this sentence:
"My favorite back-to-school supply is..."
We'll pick a winner on Monday, Aug 31, and get in touch with the winner by email.
Thanks everybody! It's wonderful, as always, to have you following along.
For Pixie Faire,
Melinda and Cinnamon


441 Comments
I wanted to find some back to school supply nobody else had for my grandchildren this fall. We scoured boutiques and fairs. No luck. But my granddaughter found a clip on pen/lipgloss that she LOVED! (It is on a pull out like janitors use). She was more than happy. Add that to bright colored mini pens and a pretty mini note book for a home run! She felt special and ready to go to school.
I was in grade school in the 50’s and we were very poor. I was always excited to get new pencils.
Thanks so much for the tutorials for variations on previous patterns! It really aids my own creativity in combining pattern pieces for new looks and styles.
My favorite back to school supplies were “new” clothes. (The clothes were new to me, however they were hand me downs from the Salvation Army Store.) When my mother got done with them, ie… washing, sewing of needed, ironing, they all looked & felt brand new to me. I never knew they came from Salvation Army. The under garments were brand new. I also was the oldest of 5 so any hand me downs would come from our neighbors children that were older than me. " THE GOOD OLD DAYS"
My favourite back to school supply is crayons/markers/coloured pencils. I love the colour they can add to any project!