


This is really fun -- and it only takes three tiny pieces of fabric!

Special thanks today to Josephine Kimberling, who sent us these awesome fabrics! You can check out the whole collection (it's called "Field Day") at her website: http://www.josephinekimberling.com/fabrics/field-day/ or at Blend Fabrics: http://blendfabrics.com/gallery/field-day They're all really fun, so you can't go wrong! I especially love this cherry print -- they look kinda like little hearts and little cherries all at once. And who knew pink and orange was such a groovy color combo? :D
Anyway, enough being distracted by pretty new fabric. Back to the purse! Start by pressing under 1/4" on the short end of your main body piece.
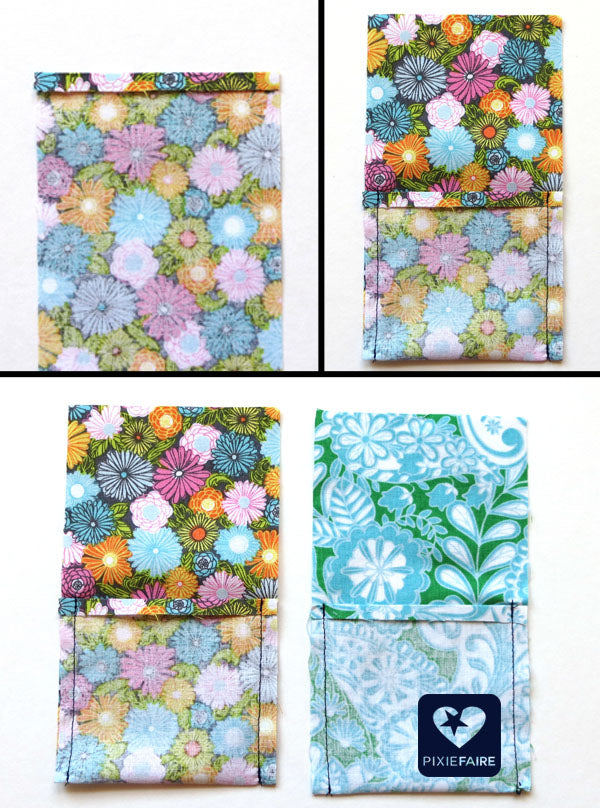
Fold up the folded edge to make a pocket about 3" deep, then stitch down both sides. Repeat to make an identical pocket in the lining.

Next, stack the two pieces on top of each other, sandwiching the pockets in the middle. Be sure to line up the top of the pockets! Pin and stitch around the edges, starting and stopping at the top of the pocket fold on each side.
Carefully turn this seam inside out, and press to finish. This will be the flap of the bag.
Then, flip the main purse body pocket AROUND the lining pocket, trapping all the raw edges between the two pockets.
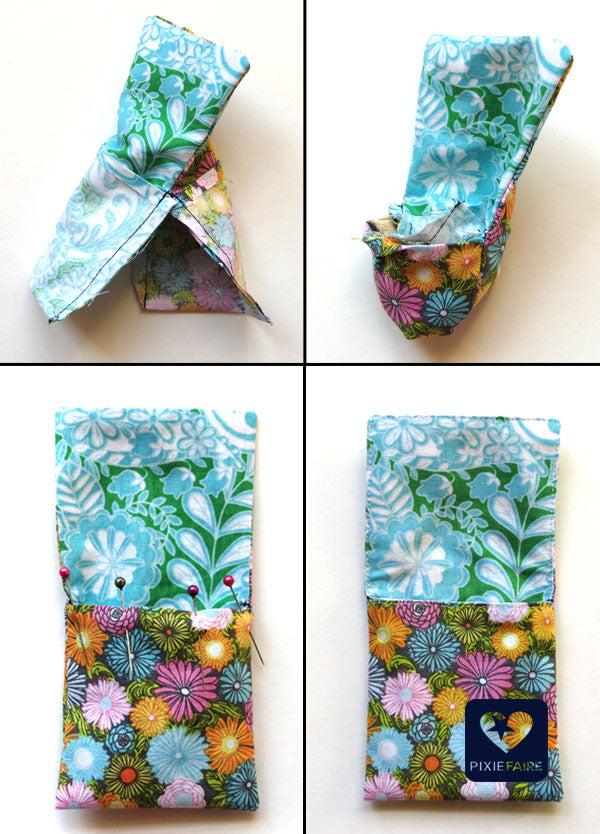
Pin the two folded edges together, and topstitch them together. Keep stitching all the way around the flap of the bag, then give everything a press to finish.
Strap time!

Press all the edges in 1/4", then fold the strap in half lengthwise and topstitch to finish.
Pin the strap onto the bag at each side, and carefully topstitch into place. I like to sew in a box around the edges of the strap -- it's sturdier and prettier that way.
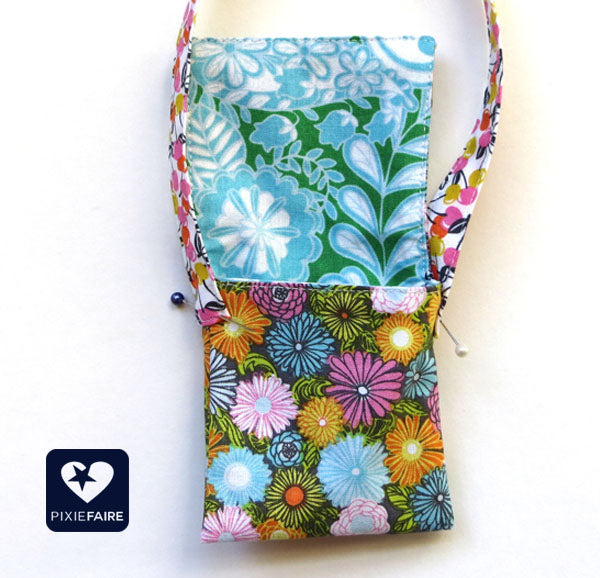
Then, all that's left is to decorate your new bag -- add a button, a piece of favorite trim, or maybe something fun and sparkly! You could also sew on a piece of velcro if you wanted a little extra closing power.
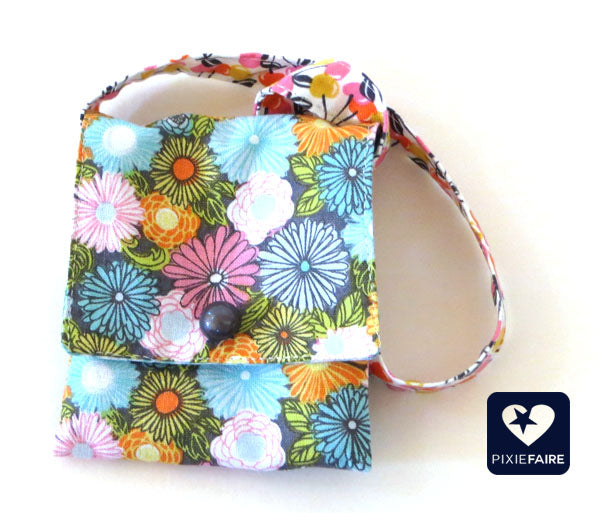
And that's it! Give the bag to your doll and see how she likes it.
If you end up falling for these new Field Day fabrics, Josephine would love you to mention the name of the fabric line and Blend Fabrics when you show off your finished handiwork -- whether that's in your Etsy shop, or on your blog, or just a "look I made this!" Facebook post, be sure to spread the fun fabric love!
Happy sewing,
Melinda

Follow along as Melinda shows you how to make the bag!


22 Comments
My granddaughter and I made one this evening. Great instructions and it turned out cute!
This is just great! and it is free too!!
I just love it.
Thank you so much.
But your music is louder than the person talking.
I just love it.
Thank you so much.
But your music is louder than the person talking.
This was a lot of fun to make with my daughter. She had a little trouble with the top stitch to close the bag and attaching the strap but other than that she did the whole thing herself! Very fun and good confidence boost for her. And now our dolls have a fun new accessory!