

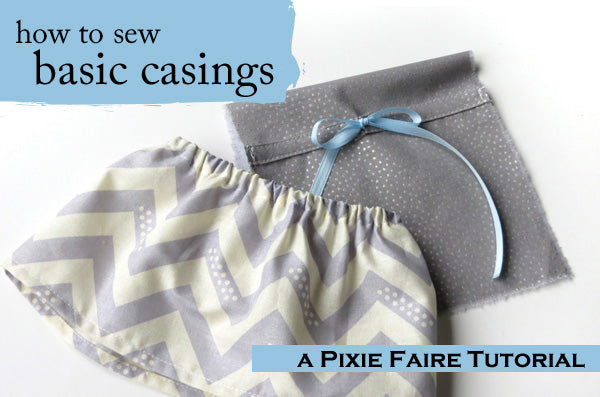
Today I wanted to show you two easy ways to make casings (which is just a fancy sewing word for a tunnel in the fabric!)
1. Edge Casings
When you just need to run some elastic around the edge of a piece, what do you do? Why, make an edge casing, of course! In this example, I'm making a super-quick doll skirt; I have the bottom edge hemmed, but haven't sewn the edge casing for the elastic yet. Here's how:

Press under the raw edges of your fabric twice -- in this case, 1/4" and then 3/8", to leave enough room for a 1/4" piece of elastic -- and then pin it down.

Stitch close to the fold, and voila! your casing! Thread elastic through, stitch down both ends, and you're in business. If you want to get fancy, you can mark your fold lines before pressing them under (like I did in the first picture) -- that's best for days when you want to be really precise.


2. Applied Casing
This is as simple as the name sounds -- it's a casing which you apply to the fabric. You can use pre-made bias tape, to make the job really easy; I just cut a strip of self fabric and pressed the raw edges under. Either way works great. :)

Simply pin your casing down on the fabric in the desired location, and edgestitch to finish. Be sure there is enough room between your stitch lines for your elastic or ribbon.
Now, would you like to add an opening in your casing? Say you are putting a casing around the waist of a dress, and need a spot for the ribbon to emerge so you can tie it? No problem!

Just cut the casing at the right length, tuck under the raw ends, and pin two folded ends next to each other so that they just touch. Sew normally; then, use the new opening you just made to thread your ribbon through.


Thanks for following along today! How do you use casings? Let us know in the comments below :)
For team Pixie Faire,
Melinda


13 Comments
I am making kitchen curtains, I’m making a casing for the curtain rod to go through out of muslin. Do I need to cut muslin on the bias? It’s been a 100 yrs since I’ve sewed anything.
Hey All! So, the tool I have is just like this one: http://www.joann.com/dritz-loop-turner/1048347.html#prefn1=isProject&start=89&sz=54&prefv1=false
It’s called a “loop turner” — super descriptive name right? :)
I still do use safety pins sometimes, it just depends on the project whether the safety pin or the loop turner (or a traditional bodkin) is faster.
Gail, love your tip about sewing an extra line of stitching just below the fold. Thanks for sharing!
I love your fashions and appreciate your tips. Thanks for sharing. I plan to get a bodkin too. Never even heard about one until yesterday!
I like to sew an extra line of stitches about an 8th inch from the top fold of my casing (waistband) I did this with my children’s clothing and do it for my doll clothes too,
it seems to make the gathers neater and also keeps the elastic from being right next to the skin
I like to sew an extra line of stitches about an 8th inch from the top fold of my casing (waistband) I did this with my children’s clothing and do it for my doll clothes too,
it seems to make the gathers neater and also keeps the elastic from being right next to the skin