

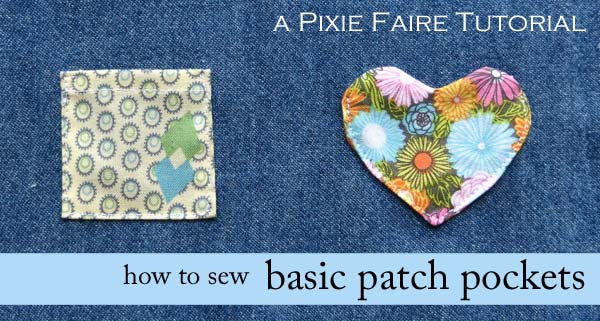
This week, I show you how to add a simple pocket to most anything! Patch pockets are ridiculously easy and versatile -- they're great for adding a pop of color (and functionality) to pants, skirts, shirts, and many other items. Today, we'll make two kinds of patch pockets; a quintessential patch pocket, and a novelty shaped pocket.
1. The Basic Patch Pocket
Figure out how large you'd like your pocket to be, then cut a rectangle of fabric that's 1/4" larger on the bottom and sides, and 1/2" longer along the top edge.
Press under the top edge twice, so that you have a 1/4" double turn hem. Then, edgestitch close to the folded edge to hold it down.

Press under the remaining three edges 1/4". Position your pocket, and pin it into place.
Edgestitch around the outer edges to finish.
If your pocket is going to get a lot of use, it's a good idea to reinforce the corners. Here's a little diagram that shows you how to stitch little reinforcing triangles at each upper edge of the pocket...

2. The Novelty Shaped Patch Pocket
But, you say, what about when you inevitably get bored of the basic, rectangular pocket? What if you want to try other shapes? Well, here's one way to get randomly (and delightfully) shaped patch pockets.
Cut out two identical pieces of fabric, in your desired shape -- be sure you add about 1/4" of seam allowance on all the edges. Lay the two pieces atop each other, with the right sides together, and stitch. Leave an opening at least 1" long somewhere near the bottom.

Clip into the seam allowance (curious? We give a few hints in this post) and turn your pocket right side out. Press it carefully, being sure to fold in the edges of the opening.
Then, all that's left is to place your pocket and edgestitch it down. Of course, where to start and stop stitching won't always be clear with this kind of pocket; the rules of thumb here are to make sure 1) your object can still fit into the pocket and 2) the stitching comes up high enough that the object won't fall out of the pocket :)

And there you have it! Congratulations!

Do you have other fabulous ways of making patch pockets? Leave us a comment below and let us know :)
Thanks everyone!
For Pixie Faire,
Melinda


7 Comments
LOVE the fusible tape, as Linda commented on esp. for these tiny pockets — it really makes sense and is sooo much easier than trying to pin — press down, stitch away & you’re done - easy-peasy!!! ;) Agree the heart pocket is very sweet too!!!
I don’t pin to hold down the sides of the pocket, but instead use fusible tape (either 1/8 inch or 1/4 inch) to hold down the sides. You can then iron the pocket and sew as per your directions. The fusible tape can be either water soluable for see through or light fabrics or can be permanent for heavier fabrics and jeans. I find that pinning can really be a pain on such small pieces. One roll of tape is fairly inexpensive and lasts ages
thanks for the great tutorials. Love the heart pocket!